Introduction to NestJS: A Progressive Node.js Framework
Learn how to get started with NestJS, a powerful Node.js framework inspired by Angular that embraces MVC architecture
NestJS is one of many frameworks for Node.js. In this post, I’ll share what I’m currently learning about it and walk through setting up your first NestJS project.
About NestJS
![]()
Nest (NestJS) is a framework for building efficient, scalable Node.js server-side applications.
NestJS embraces the MVC (Model, View, Controller) concept. Controllers are responsible for handling incoming requests and returning responses, with a routing mechanism that determines which controller should handle each request. If you’re familiar with Angular, you’ll find NestJS easy to pick up as it was heavily inspired by Angular’s architecture.
Under the hood, NestJS uses HTTP Server frameworks like Express (the default) and Fastify. While NestJS is built with TypeScript, it still allows you to write code in pure JavaScript. The framework combines elements of:
- • OOP (Object Oriented Programming)
- • FP (Functional Programming)
- • FRP (Functional Reactive Programming)
Installing the Nest CLI
Before installing the Nest CLI, ensure you have Node.js installed on your system (minimum version 8.9.0).
To install the Nest CLI globally, run this command on your terminal:
$ npm install -g @nestjs/cli
Once it completed, create a new project with the following command:
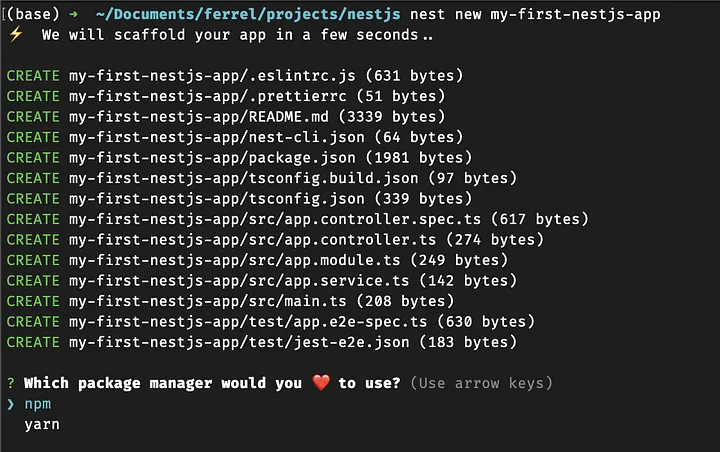
$ nest new my-first-nestjs-app
There will be some question “which package manager would you love to use”. In this project, I choose Yarn.
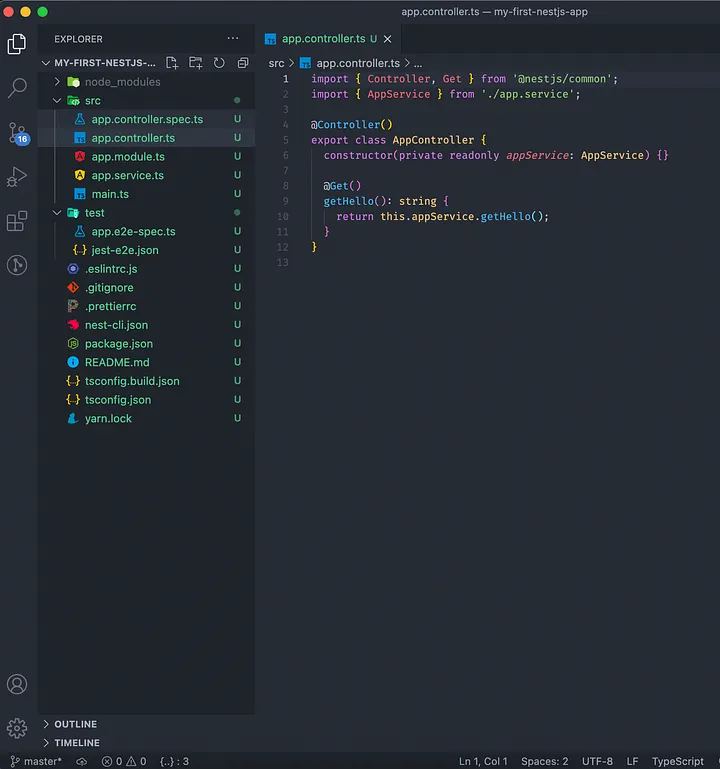
After generating project is done, you can open the project using any Text Editor or IDE. Your project structure will look like:
Run the project
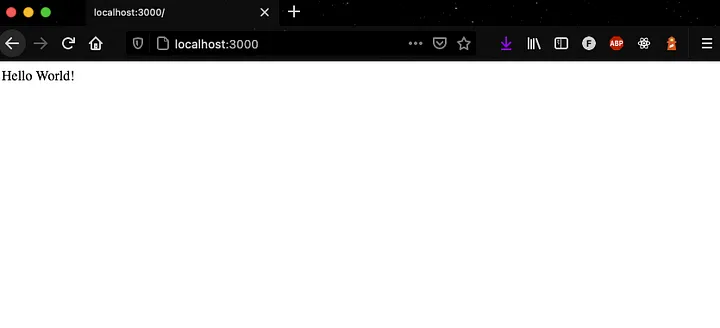
To run the project, open your terminal to project directory (this is go to default if you open terminal from text editor or IDE) and use command yarn run start . If you using NPM, use npm run start .
After that, open your browser at http://localhost:3000/
I hope you find this post helpful. We will continue to learn more about NestJS in the next post.